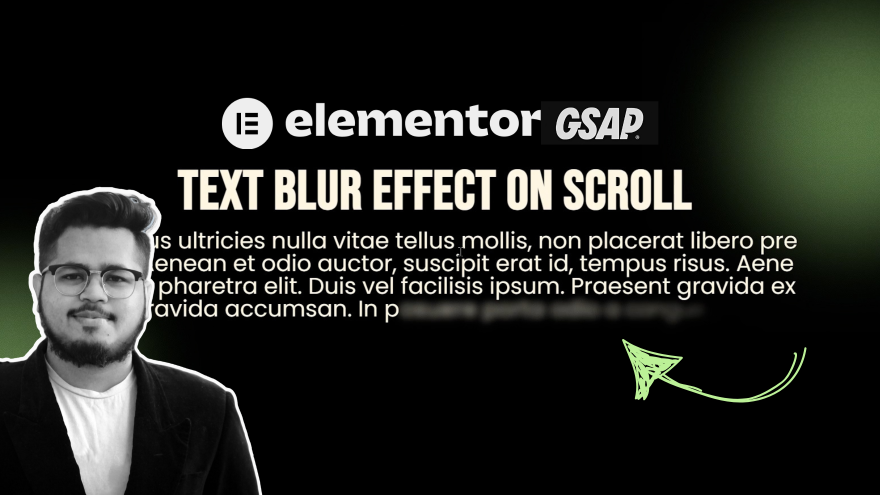
Creating engaging and interactive animations can significantly enhance the user experience on your website. In this tutorial, you’ll learn how to apply a text highlight effect on scroll twice within a single page using GSAP and Elementor.
Why Use GSAP for Scroll Animations?
GSAP (GreenSock Animation Platform) is a powerful JavaScript library designed for smooth and efficient animations. When combined with the ScrollTrigger plugin, GSAP allows you to create stunning scroll-based animations that work seamlessly with Elementor.
Adding the Effect Twice on One Page
If you want to apply this animation effect twice on the same page, I recommend watching my full video tutorial first, as it covers the essential setup and implementation steps.
If you have already watched the video, let’s get started. You need to follow the same steps twice to apply the effect in different sections.
Step 1: Create the First Animation Section
- Add a text element in Elementor and assign it the class:
cool-split. - Create a trigger element and give it the class:
about. - Your first section is now ready for animation.
Step 2: Create the Second Animation Section
- Design the second section according to your preference.
- Assign the text element in this section the class:
cool-split-two. - Create a trigger element for the second animation and give it the class:
services. - Your second section is now set up!
Step 3: Add the JavaScript Code
Now, add the following JavaScript code to your page to enable the animations:
Understanding the Code
- Libraries Used:
GSAPfor animations.ScrollTriggerto trigger animations based on scroll position.SplitTypeto split text into individual characters for detailed control.
- How It Works:
- The first animation targets
.cool-split h2within the.aboutsection. - The second animation targets
.cool-split-two h2within the.servicessection. - Each animation is triggered when its respective section scrolls into view.
- The text color changes smoothly from transparent to white.
- The first animation targets
Final Thoughts
This technique allows you to highlight multiple text elements on scroll, creating a dynamic and engaging experience for visitors. By following these steps, you can apply the effect twice on the same page using Elementor and GSAP.
Feel free to experiment with different colors, speeds, and stagger effects to match your design preferences. Happy coding!

