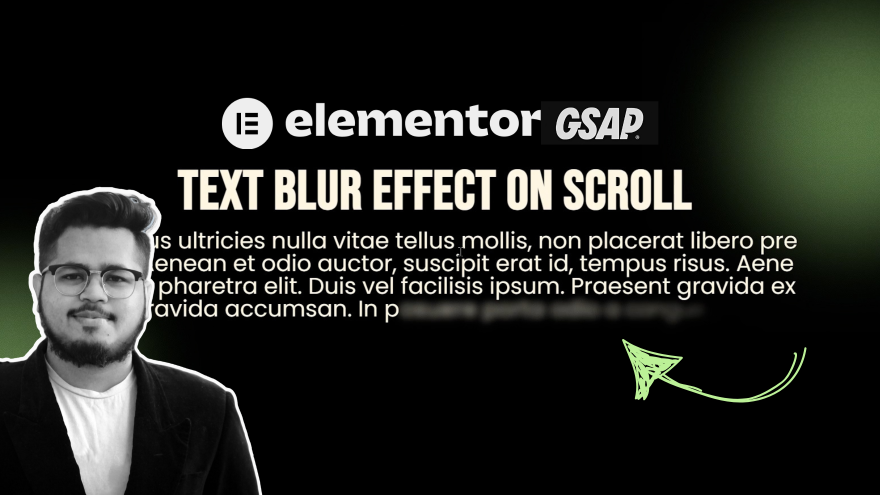
how to highlight text on scroll with Elementor and GSAP, and ScrollTrigger. Create eye-catching animations without coding for an interactive user experience. Interactive animations can bring your website to life, capturing attention and delivering a memorable experience for your visitors. In this guide, we’ll walk you through creating a stunning text highlight animation that activates on scroll. Using GSAP, ScrollTrigger, and Elementor, you can easily implement this effect without needing advanced coding skills.
Step 1: Add a CSS Class to Your Text Widget
First, decide where you want the highlight animation to appear. Open Elementor and select the text widget you want to animate.
- Navigate to the Advanced tab in the Elementor panel.
- Under the CSS Classes field, type
cool-split.
This class will serve as the identifier for the GSAP animation script to target your text.
Step 2: Target the Correct HTML Tag
The animation script provided in this tutorial uses h2 as the default tag for the text inside .cool-split. However, your design may use a different HTML tag like h1, h3, or even a paragraph (p).
To update the tag:
Look for this line in the JavaScript code : If you want to change the h2 tag to another tag, simply locate the GSAP code where the animation is applied. Look for the line that mentions .cool-split h2.
For example:
- If you want to apply the animation to an
h3tag instead, change.cool-split h2to.cool-split h3. - If your text is wrapped in a paragraph tag, update it to
.cool-split p.
This ensures the animation targets the correct HTML element based on your design.
Step 3: Update the Scroll Trigger Section
If you want to update the section where the animation starts, look for the part of the GSAP code that specifies the scrollTrigger settings.
By default, it uses .about as the trigger. To change this:
- Replace
.aboutwith the class name of your desired section. - For example, if you want the animation to start in the
.servicessection, update.aboutto.services.
This ensures the animation activates when the user scrolls through the correct section of your page.
Step 4: Add the CSS and JavaScript Code to Your Website
Now that your text and trigger settings are ready, it’s time to add the CSS and JavaScript code to your website.
Adding CSS:
- Copy the CSS code.
- Go to your WordPress Dashboard and navigate to Appearance > Customize > Additional CSS or use Elementor’s Custom CSS feature.
- Paste the code and save the changes.
Adding JavaScript:
- Copy the JavaScript code.
- Use a plugin like Insert Headers and Footers to add the script to your website’s
<head>or<footer>. - Save and refresh your website to test the animation.
What’s Next?
Once you’ve implemented the steps above, your text will animate beautifully as users scroll through the page. To further customize the effect, you can experiment with:
- Colors: Update the text color during the animation by modifying the
colorproperty in the JavaScript. - Timing: Adjust the
durationorstaggervalues to control the speed of the animation. - Trigger Area: Fine-tune when the animation starts or ends using the
startandendproperties in the ScrollTrigger.
Adding interactive animations like this not only improves your site’s visual appeal but also keeps visitors engaged. Try it out today, and let your website shine!